
Mastering Video Lighting Techniques
- Sean Boyd
- Jul 30, 2025
- 5 min read

Updated: May 1
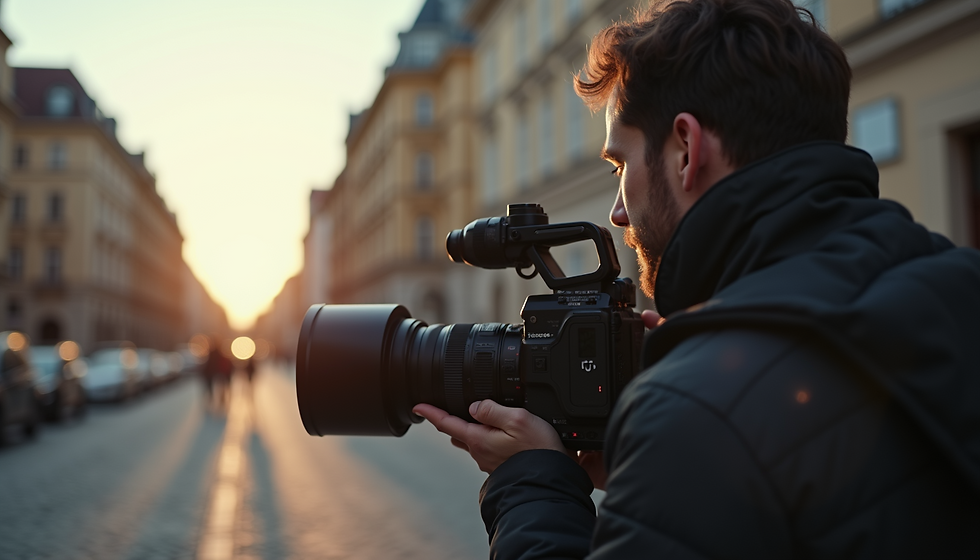
Lighting is one of the most crucial elements in video production. It can make or break your footage, transforming a dull scene into something vibrant and engaging. If you want to elevate your video projects, understanding lighting techniques is essential. In this post, we will explore various video lighting techniques, that can help you achieve stunning results.
Understanding the Basics of Lighting
Before diving into specific techniques, it is important to understand the basics of lighting. There are three main types of lighting used in video production:
Key Light: This is the primary light source. It sets the overall exposure and mood of the scene.
Fill Light: This light softens shadows created by the key light. It helps to balance the lighting and reduce harsh contrasts.
Back Light: This light is placed behind the subject. It creates depth and separates the subject from the background.
Each of these lights plays a vital role in creating a well-lit scene. By mastering these basics, you can start experimenting with different setups to find what works best for your project.
The Importance of Color Temperature
Color temperature is another key factor in video lighting. It refers to the warmth or coolness of the light. Measured in Kelvin (K), color temperature can greatly affect the mood of your video.
Warm Light: Typically around 2700K to 3000K, warm light creates a cozy and inviting atmosphere.
Neutral Light: Ranges from 4000K to 5000K, neutral light is balanced and resembles natural daylight.
Cool Light: Above 5000K, cool light gives a more clinical and modern feel.
You can easily adjust the color temperature to match the mood you want to convey. For instance, if you are shooting a romantic scene, warm light can enhance the emotional impact.
CLAY'S Key Lighting Tips
Positioning: Place your key light at a 45-degree angle from your subject. This creates natural shadows and adds depth.
Intensity: Adjust the brightness of your key light to achieve the desired exposure. Too bright can wash out details, while too dim can make the scene look flat.
Diffusion: Use a softbox or diffuser to soften the light. This helps to create a more flattering look, especially for skin tones.
By following these tips, you can create a strong foundation for your lighting setup.
Enhancing with Fill Light
Once you have your key light set up, it is time to add fill light. This light helps to soften shadows and create a more balanced look. Here’s how to use fill light effectively.
Positioning: Place the fill light on the opposite side of the key light. This helps to fill in shadows without overpowering the key light.
Intensity: The fill light should be less intense than the key light. A good rule of thumb is to set it at about half the brightness of the key light.
Color Temperature: Match the color temperature of the fill light to the key light for a cohesive look.
Using fill light can significantly improve the quality of your video, making it look more professional.
Creating Depth with Back Light
Back light is essential for adding depth to your scene. It helps to separate the subject from the background, creating a three-dimensional effect. Here’s how to use back light.
Positioning: Place the back light behind the subject, aimed at their shoulders or head. This creates a nice rim light effect.
Intensity: The back light should be subtle. It should enhance the subject without drawing too much attention.
Color Temperature: You can experiment with different color temperatures for the back light. A cooler back light can create a dramatic effect, while a warmer one can maintain a soft look.
By incorporating back light into your setup, you can elevate your video’s visual appeal.
Practical Examples of Lighting Setups
Now that you understand the basics, let’s look at some practical examples of lighting setups using CLAY.
Example 1: Interview Setup
For an interview setup, you want to create a professional and engaging look. Here’s a simple three-point lighting setup:
Key Light: Position a soft key light at a 45-degree angle to the subject’s face.
Fill Light: Place a fill light on the opposite side, set to half the intensity of the key light.
Back Light: Add a back light behind the subject to create separation from the background.
This setup will ensure that the subject is well-lit and visually appealing.
Example 2: Product Showcase
When showcasing a product, the lighting should highlight its features. Here’s how to set it up:
Key Light: Use a strong key light directly in front of the product to illuminate it.
Fill Light: Position a fill light at a lower intensity to soften shadows on the product.
Back Light: A back light can be used to create a glow around the product, making it stand out.
This setup will help to draw attention to the product and make it look more attractive.
Tips for Working with Natural Light
While artificial lighting is essential, natural light can also be a great resource. Here are some tips for working with natural light using CLAY:
Timing: Shoot during the golden hour, which is shortly after sunrise or before sunset. The light is softer and more flattering.
Diffusion: Use sheer curtains or reflectors to diffuse harsh sunlight. This will create a more even lighting effect.
Direction: Pay attention to the direction of the light. Position your subject so that the light falls on them from the front or side for the best results.
By incorporating natural light into your setup, you can achieve beautiful and organic- looking footage.
Troubleshooting Common Lighting Issues
Even with the best intentions, lighting issues can arise. Here are some common problems and how to fix them:
Harsh Shadows: If you notice harsh shadows, try moving your key light closer to the subject or using a diffuser.
Overexposure: If your footage looks washed out, reduce the intensity of your key light or adjust your camera settings.
Color Mismatch: If the colors look off, double-check the color temperature settings on your lights. Make sure they match for a cohesive look.
By being aware of these common issues, you can quickly troubleshoot and improve your lighting setup.
Final Thoughts on Video Lighting
Mastering video lighting techniques is essential for creating high-quality content. With CLAY help, you have the tools to experiment and find the perfect lighting setup for your projects.
Remember to start with the basics, understand the importance of color temperature, and utilize key, fill, and back lights effectively.
By applying these techniques, you can elevate your video production skills and create stunning visuals that captivate your audience.
With practice and experimentation, you will become more confident in your lighting abilities. So grab your gear and press play with CLAY.


Comments